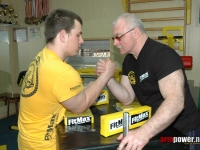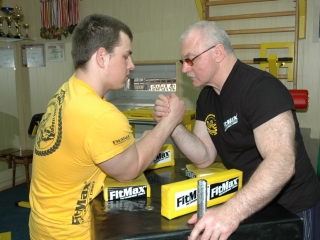
As we all know, it’s very hard to find any literature on armwrestling.
An armwrestling technique is not only the arm movement after “Ready, GO!”, but also the movement of the body, leg stance and shifts in position during the fight.
All armwrestling techniques can be presented in particular positions and phases:
POSITIONS:
1.Stand up (legs and body positioned depending on fighting arm)
2. Starting position (grip, before “Ready, GO!”)
PHASES:
1.Attack (arm and body movement after “Ready, GO!” to the point of 45°)
2.Defence (stopping the opponent’s arm)
3.Counter (attacking the opponent’s arm)
4.Utilizng the upper hand (all action until STOP command)
For every armwrestler, both amateur and pro, it’s crucial to master the techniques. In this issue of Armpower, preceding the POSITIONS chapter, we wish to present phases of techniques, the first phase especially.
We can discern a few phases of attack, but one of the most popular is over the top.
Ways of attacking over the top.
1. Over the top trough opponent’s pinky finger

Before „Ready – GO!” the opponent on the left places his elbow in the center of the pad. If the other opponent has a longer arm, place elbow in the front part of the pad.
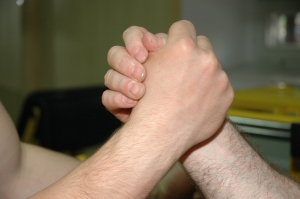
The person on the left grabs the opponent’s hand in such a way that their index finger knuckle is higher than the opponent’s index finger.
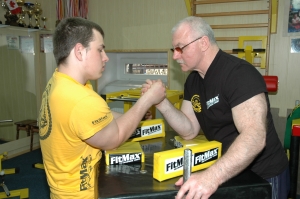
After „ready, GO!”we attempt to stretch the opponent’s pinky finger by pulling our wrist towards our body.
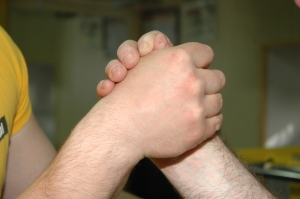
Open the opponent’s pinky finger with the wrist bent.
2. Over the top trough opponent’s index finger
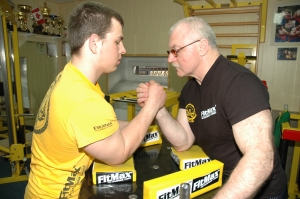
Before „ready, GO!” the left side oponent places his elbow in the center of the pad. If the other opponent has a longer arm, place elbow in the front part of the pad.
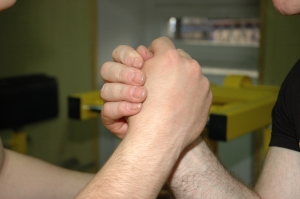
The person on the left grabs the opponent’s hand in such a way that their index finger knuckle is higher than the opponent’s index finger.
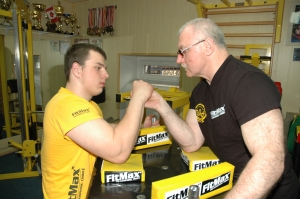
After „ready, GO!”we attempt to stretch the opponent’s index finger by pulling our wrist towards our body.
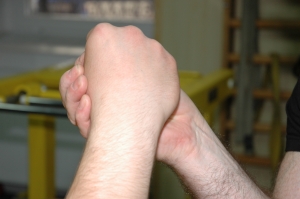
In the finishing phase of this technique the attacker’s index finger knuckle is 2-3 cm above the opponent’s index finger.
3. Over the top to opponent’s four fingers
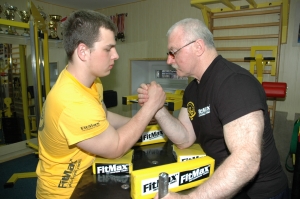
Before „ready, GO!” the left side oponent places his elbow in the center of the pad. If the other opponent has a longer arm, place elbow in the front part of the pad. Thumb is tucked under yoy index finger.
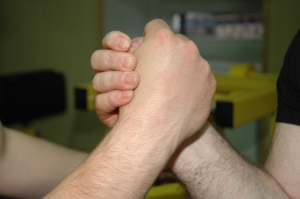
The person on the left grabs the opponent’s hand in such a way that their index finger knuckle is higher than the opponent’s index finger.
Before „ready, GO!” stretch the opponent’s hand putting pressure on his four fingers.
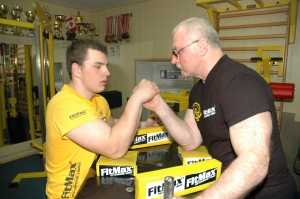
After „ready, GO!”, apply outward wrist motion to put pressure on your opponent’s four fingers
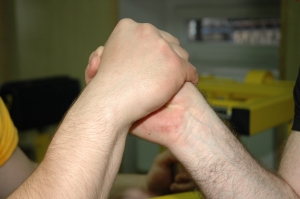
In the last phase useoutbound rorating motion of your wrist to stretch opponent’s fingers.
4. Over the top with wrist block
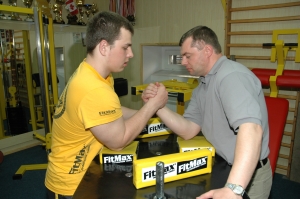
Before „ready, GO!” the attacker puts their elbow on the right edge of the pad (nearer to them). If the opponent’s forearm is longer than the attacker’s, the technique will not work. It only works for an attacker with a forearm much longer than the opponent’s.
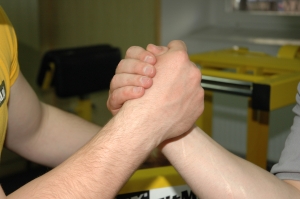
The person on the left grabs the opponent’s hand in such a way that their index finger knuckle is higher than the opponent’s index finger or on the same level. To perform this properly, the opponent must be gripping your hand with his pinky finger in the crook of your wrist.
The attacker should still have their elbow on the right edge of the pad (nearer to them). After “ready, GO!” they should start to slide their elbow diagonally.
After „ready, GO!”, using an outward movement, block opponent’s wrist with pinky finger, while rotating your wrist to stretch their fingers. The elbows moves diagonally across the pad.
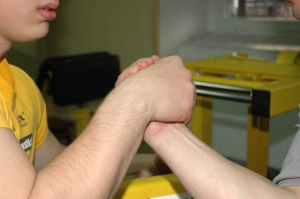
After „ready,Go! It will be very hard for us to perform this technique, if the opponent’s pinky is above the crook of our wrist. The best position is for the opponent’s pinky to be placed parallel with the crook of our wrist.
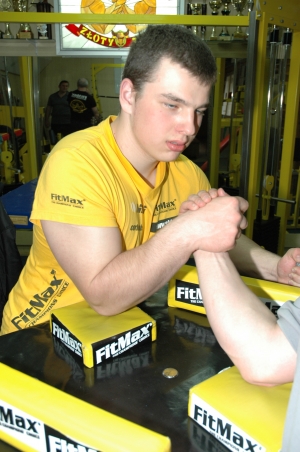
With a movement to the side, with elbow moving diagonally across the pad, we put pressure on the opponent’s fingers.
5. Over the top to the side.
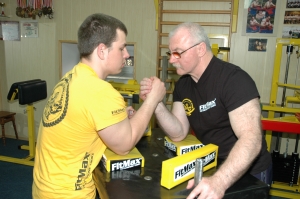
Before „ready, GO!” the attacker puts their elbow on the right edge of the pad (nearer to them). This technique only works for an attacker with a forearm much longer than the opponent’s.
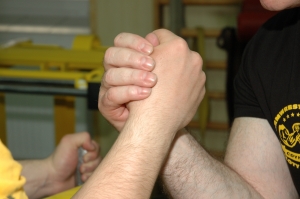
The person on the left grabs the opponent’s hand in such a way that their index finger knuckle is higher than the opponent’s index finger or on the same level.
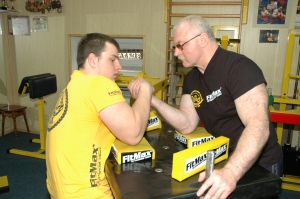
After „ready,GO!” we stretch the opponent’s fingers towards ourselves we twist the opponent’s wrist outwards, with a sideways movement.
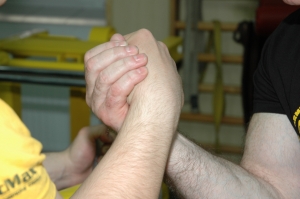
The goal of this technique is reached, when the opponent’s wrist is facing outwards.
6. Sideways attack.
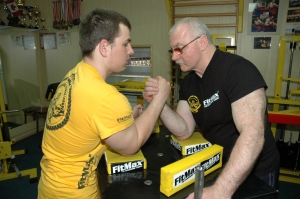
Before „ready, GO!” the attacker places their elbow on the right side of the pad, nearer the center. We recommend this attack to the fighters with a very quick, sure start.
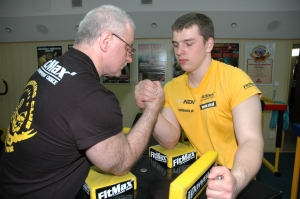
The person on the left grabs the opponent’s hand in such a way that their index finger knuckle is higher than the opponent’s index finger or on the same level.
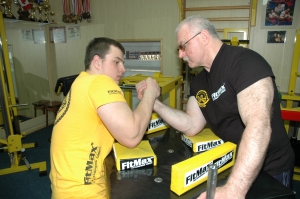
After „ready,GO!” put pressure on the opponent’s whole hand with a sideways motion.
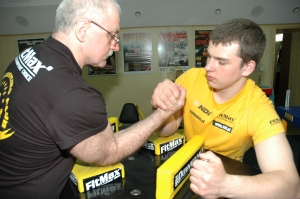
With a good, quick start, you can get a lot of advantage with this technique. Perform it in one motion, with a straight wrist, do not bend opponent’s fingers.
With this we are done with one chapter of attack – over the top. As you can see, we can easily get up to at least 50 techniques.

